Author Archives: Jeff

Pro Tools – Shortcut of the Week (2009.06.01)

Pro Tools is a strong multi-track editing program, but unless you’re willing to drop some change on a custom keyboard, it can be tough to learn all the keyboard shortcuts.  I’m featuring one a week in an attempt to highlight the tricks I find most useful.

Zoomer Tool:  Command+1

Trimmer Tool:  Command+2

Selector Tool:  Command+3

Grabber Tool:  Command+4

Scrubber Tool:  Command+5

Pencil Tool:  Command+6

Smart Tool:  Command+7

Seven shortcuts!?!  While normally I think that this would be too many to digest in one shot, it wouldn’t make any sense to list these separately.  These tools are lined up across the toolbar in the order above, with the exception of the Smart Tool.  I think it would be harder to remember the shortcuts above if you didn’t see them in one place.

The Smart Tool is actually sitting under the Trimmer/Selector/Grabber tools, but I think it’s easy enough to remember that as command+7 - we read left to right, top to bottom.

So why bother with these shortcuts?  Why not just use the Smart Tool all the time?  I’m just making the transition away from the Smart Tool myself.  The Smart Tool is easy - no need to remember which tool does what, but it also doesn’t have much depth.  Among other behaviors, command-clicking changes functions with each tool.  This means more control with fewer wrist movements, and that’s the main purpose of shortcuts, right?

Note: You can also use the F5 through F10 keys to access the six individual tools, but I work on laptop keyboard primarily.  The function keys are all dedicated to other tasks, and I’m happy with this setup right now.

Pro Tools – Shortcut of the Week (2009.05.25)

Pro Tools is a strong multi-track editing program, but unless you’re willing to drop some change on a custom keyboard, it can be tough to learn all the keyboard shortcuts.  I’m featuring one a week in an attempt to highlight the tricks I find most useful.

Extend Selection to Previous Region Boundary:  Option+Shift+Tab

This is the converse of last week’s shortcut, Extend Selection to Next Region Boundary.  While I don’t use this shortcut all that much, the principle is the key takeaway.  Adding Option to most commands in Pro Tools will either do the opposite action (instead of adding a marker, it might remove a marker) or reverse the direction of the action, like in this case.

Pro Tools - Shortcut of the Week (2009.05.18)

Pro Tools is a strong multi-track editing program, but unless you’re willing to drop some change on a custom keyboard, it can be tough to learn all the keyboard shortcuts.  I’m featuring one a week in an attempt to highlight the tricks I find most useful.

Extend Selection to Next Region Boundary:  Shift+Tab

This is perfect for grabbing a selection when you’ve either already trimmed the region boundaries, or if the boundaries are just close enough.  I always play out the tracks I’ve recorded for the artist to listen to before I start a mix.  This lets them catch any last minute issues before I devote a lot of time to a project.  Since I always through down markers to tag the starts of takes, this shortcut is an easy way to grab a whole take, quickly.

Mortal Music Recording

Last weekend I was over at Mortal Music Recording Studios in Charlestown, MA.  Andy Pinkham runs the space, and he’s put together a great room with some great toys. 

We were recording Boston band Pray for Mojo, a four-piece instrumental group.  The drum kit was miced up in the live room, DI off the bass and keyboards, and the guitar amp was isolated in another room for flexibility later.  Everything came out really well, and I’m looking forward to getting back over there sometime soon.

Links:

Mortal Music

Pray for Mojo

Castle Recording Studio

This past weekend Belikos asked me to come out to Utica, NY, to help with a recording session at Castle.  The band was solid, and cranked out most of two complete tracks in one day.  I’m planning to do most of the post work from home.

Castle was a very cool place to track.  Matthew Wagner, chief engineer, is a great guy and found some fantastic sounds.  The room is an old church, and designs for the conversion were done by our old friends at the Walter-Storyk Design Group (the same folks that redesigned the Duderstadt Center Audio Studio at the University of Michigan).  I sensed that it was a John Storyk room when I walked in, based on the design and acoustics - very good all around.  

My only complaints were the decay time in the live room (useless for drum tracking - and why else have a live room???) and the Yamaha DM2000 console.  From what Matt said, they’re still working on the decay in the live room, so they get a pass - I’ll be curious to see what they’ve done next time I’m back.  The console though, I don’t know about.  If all of the work you do is in the box, what does a digital console get you that a control service doesn’t?  Especially one as convoluted as a Yamaha board?  I had the experience of learning on a Yamaha O2R96, which is basically the same interface.  Unteachable.  And I sure don’t remember how it works.  Good thing Matt was around.

I’ll post pictures and audio later.  [Castle Recording Studio]

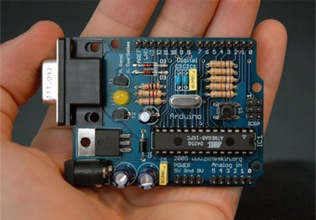
Micro Controller Options


Arduino - <i>Photo by Nicholas Zambetti</i>

Arduino - Photo by Nicholas Zambetti


Last year I had the opportunity to help out a friend with a project for a class he took at MassArt.  We used a microcontroller with buttons for a UI, and fed the data into the serial port of a computer.  We used Max/MSP to generate MIDI data and finally used Ableton Live to trigger audio sample playback from the MIDI.

The system was overly complex, but the coding was actually a minimal amount of work.  It got me thinking about a few μController-based projects that have been on the back burner for a few years.  I figured it would be good to conduct a quick survey of the chips that are being commonly used and have the best online support networks.

Arduino:

The Arduino is actually what we used for the Max-Ableton project I mentioned above.  This is a family of creative commons controlled boards, with open source software to build on.  My experience working with the Arduino was very enjoyable - the combination of a high-level language and lots of support online made the job easy.  You can get a great board for as little $30, and you’re pretty much ready to go out of the gate.  The boards are based around ATmega RISC micros.

There’s also a great series of articles on producing sound from an Arduino here.

Phidgets:

Phidgets are a system of chips and sensors linked to a computer via USB.  These boards are designed to operate in tandem with the computer, instead of as standalone processors.  There’s an API for pulling together interfacing applications on the computer side, and there’s a Max/MSP object for interfacing directly with the Phidgets.  The sensors available include buttons, encoders, accelerometers, PH sensors, and thermocouples, ranging in price from $28-95.

Handyboard:

Handyboard is an MIT design, with a focus primarily on robotics.  These boards are setup for reading sensors and driving motors.  There are only a few vendors, and the boards run in the $100 range.  There’s a fair amount of information on the MIT site, but the online community using the Arduino platform seems to be a lot larger.

PICMicro:

The PIC platform has been around for years, and is a simple solution for the serious DIYer.  This solution is a little messier than some of the others listed above, because you’re dealing a lot more at the component level and coding in assembly language.  You’ll need a PIC programmer, and then you’re pretty much ready to go.

The biggest benefit I can see from PICs are the low cost of the chips.  With the Arduinos you’re likely buying $30 boards; you can can PIC chips for anywhere from $1-8.  The economy of scale is very nice here, but for building a one-off circuit I’d likely stick to the pricier options above.

Gumstix:

I added this to the list because of the audio capabilities, but this is less a microcontroller system than it is a tiny Linux computer.  The cost is greater than the systems listed above, and the documentation is still under development.  I tried a project on this about a year ago, and ran into a number of issues.  I attribute them to my limited experience with Linux, something I’d like to rectify.

This list is far from complete - it’s just a few of the platforms I know people are working from.  As I gear up for a new project, I’ll continue to look into suitable μController platforms and post about them here.
Time-Lag Accumulator

For a while, I’ve been meaning to recreate the ‘Time Lag Accumulator’ used by Brian Eno and Robert Fripp on their early ambient music.  The setup was simple - two tape decks with a single loop of tape, guitar feeding in one.  The output of the second deck was fed back and mixed with more guitar.  A very simple delay, 3-5 seconds in length.

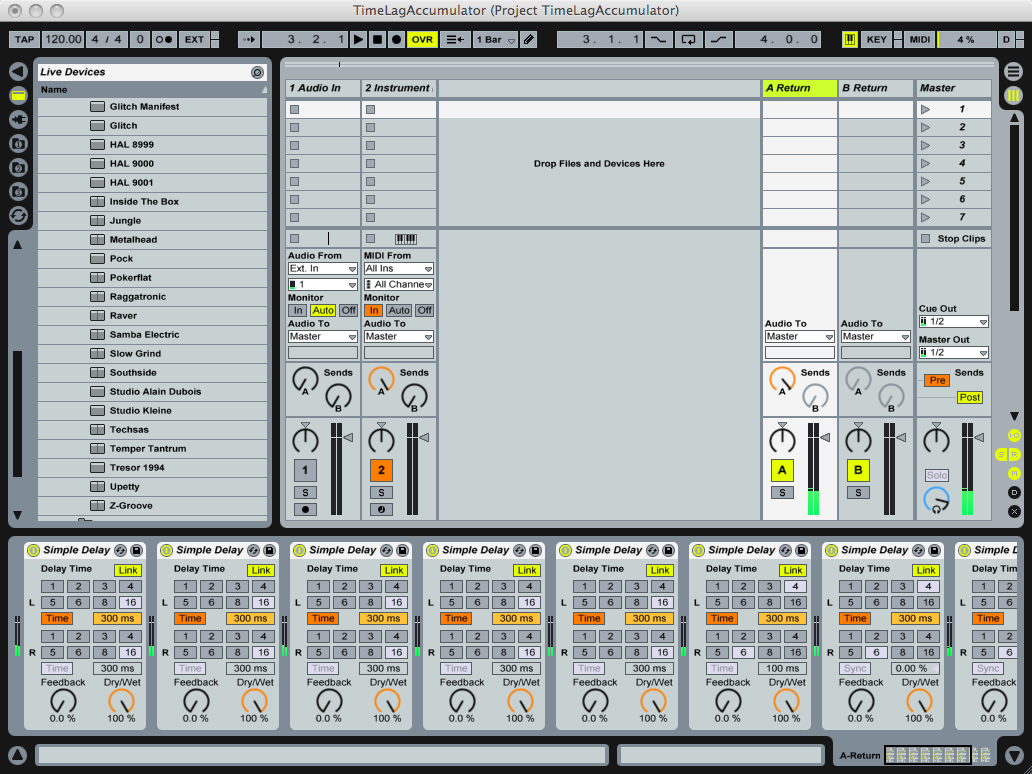
This was pretty easy to do using Ableton Live and 10 ‘Simple Delay’ plugins, although this is cumbersome:

Ableton Live - Time Lag Accumulator

Ableton Live - Time Lag Accumulator

I included to inputs to the loop - a microphone feed (from guitar, mic, whatever) and a MIDI instrument channel.  The MIDI instrument is fun to play with, but I’d love to connect the Rhodes once I’ve finished cleaning it up…

Links:

TimeLagAccumulatorProject.zip - Ableton Live Time Lag Accumulator

Frippertronics - Wikipedia entry on Eno/Fripp’s Time Lag Accumulator

SM57 Tape-Op Mod, Part II


Removing the transformer from an SM57

Removing the transformer from an SM57


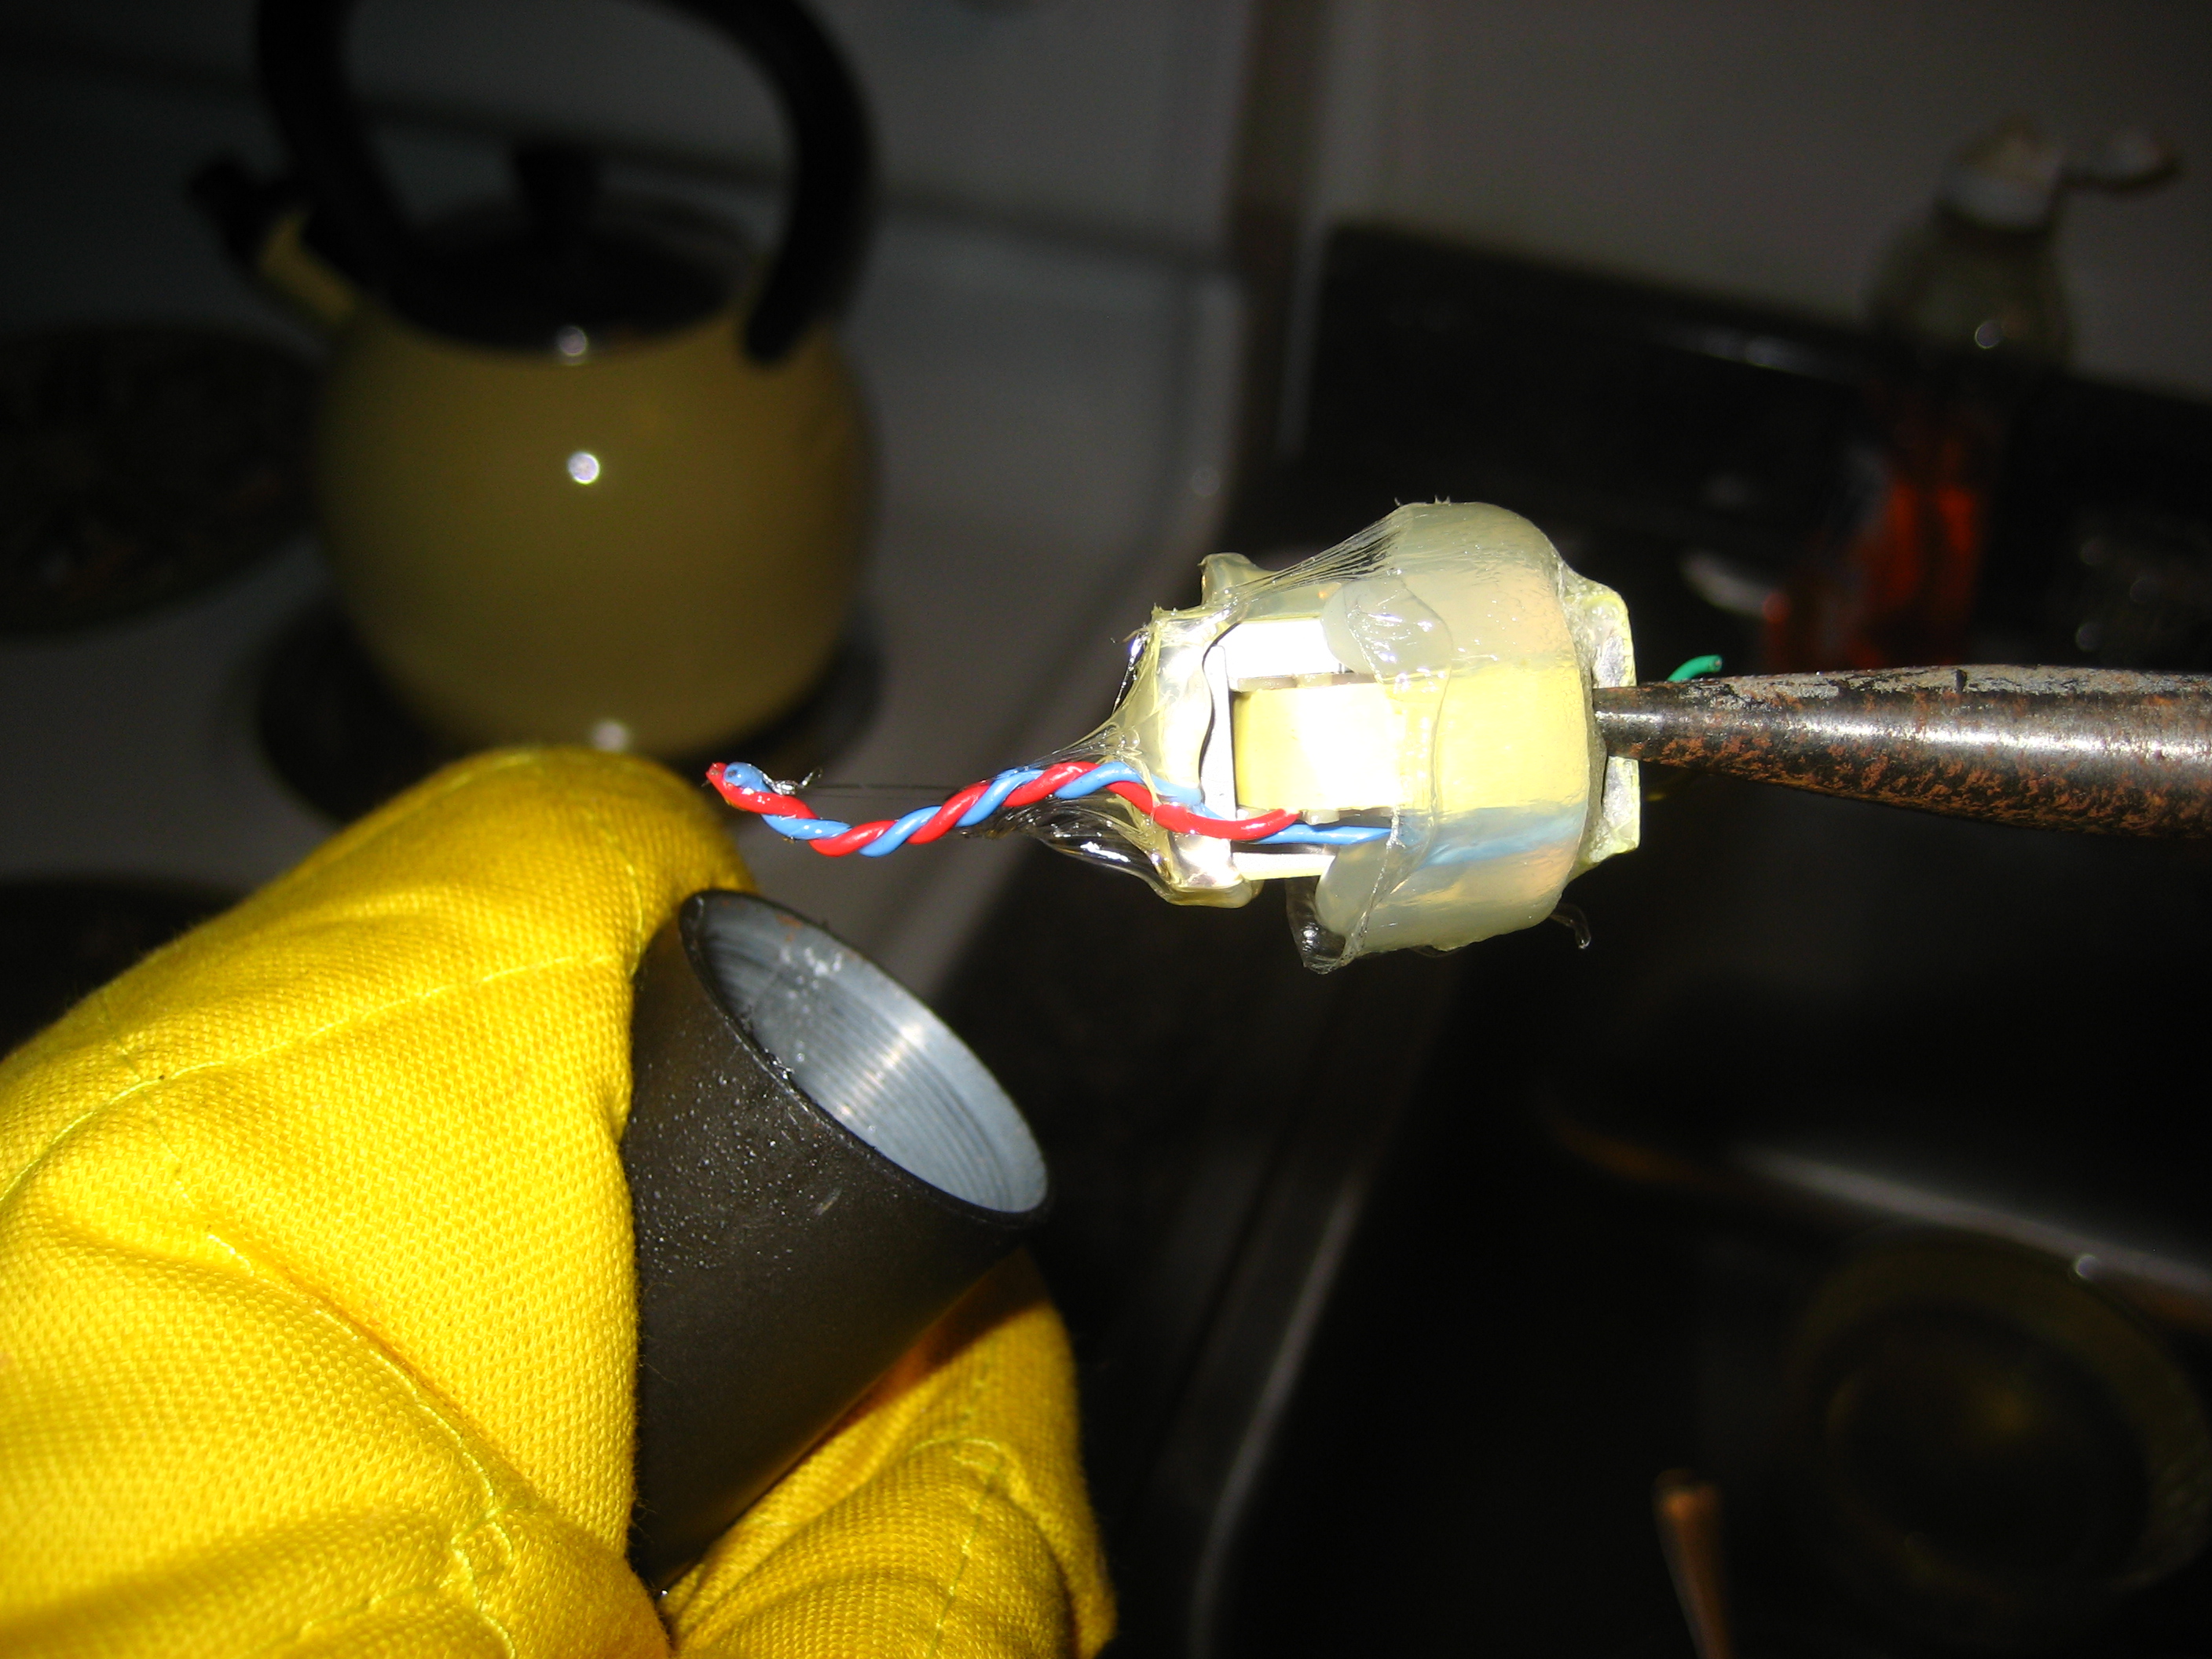
Tonight I got around to the destructive part of this mod.  I pulled the SM57 apart, which is pretty straightforward.  A small screwdriver to loosen the XLR connection, and then you can just unscrew the mic capsule from the body.  Cut the wires, and you’re ready to attack the transformer.

I put the body of the mic in a pot with a small amount of water - the water just covered the body while it was on its side.  I heated the water, and as it approached a boil, I picked up the mic body with needle nose pliers and an oven mitt.  Then I used the needle nose pliers to grab the transformer, and it slid right out of the mic.  Check the gallery to the right.

I cleaned up the glue from the transformer, in case I need or want to use it again.  If I don’t like the way this mod sounds, I could hot glue the mic back together (for better or worse).

The only comment I have on this step is the effect of the hot water on the exterior of the microphone - it seems to have really affected the finish.  It’s much rougher on this section of the microphone now than it is on the capsule end.

The only remaining step is to connect the mic capsule directly to the XLR jack and screw the body back together.  Pin 1 will still go to the body of the mic, and the blue and red wires will go to pins 2 and 3.  I’ll just have to try one arrangement, look at the polarity, and flip as needed.  I’ll post again once I’ve finished!

Finally, a Rehearsal Space

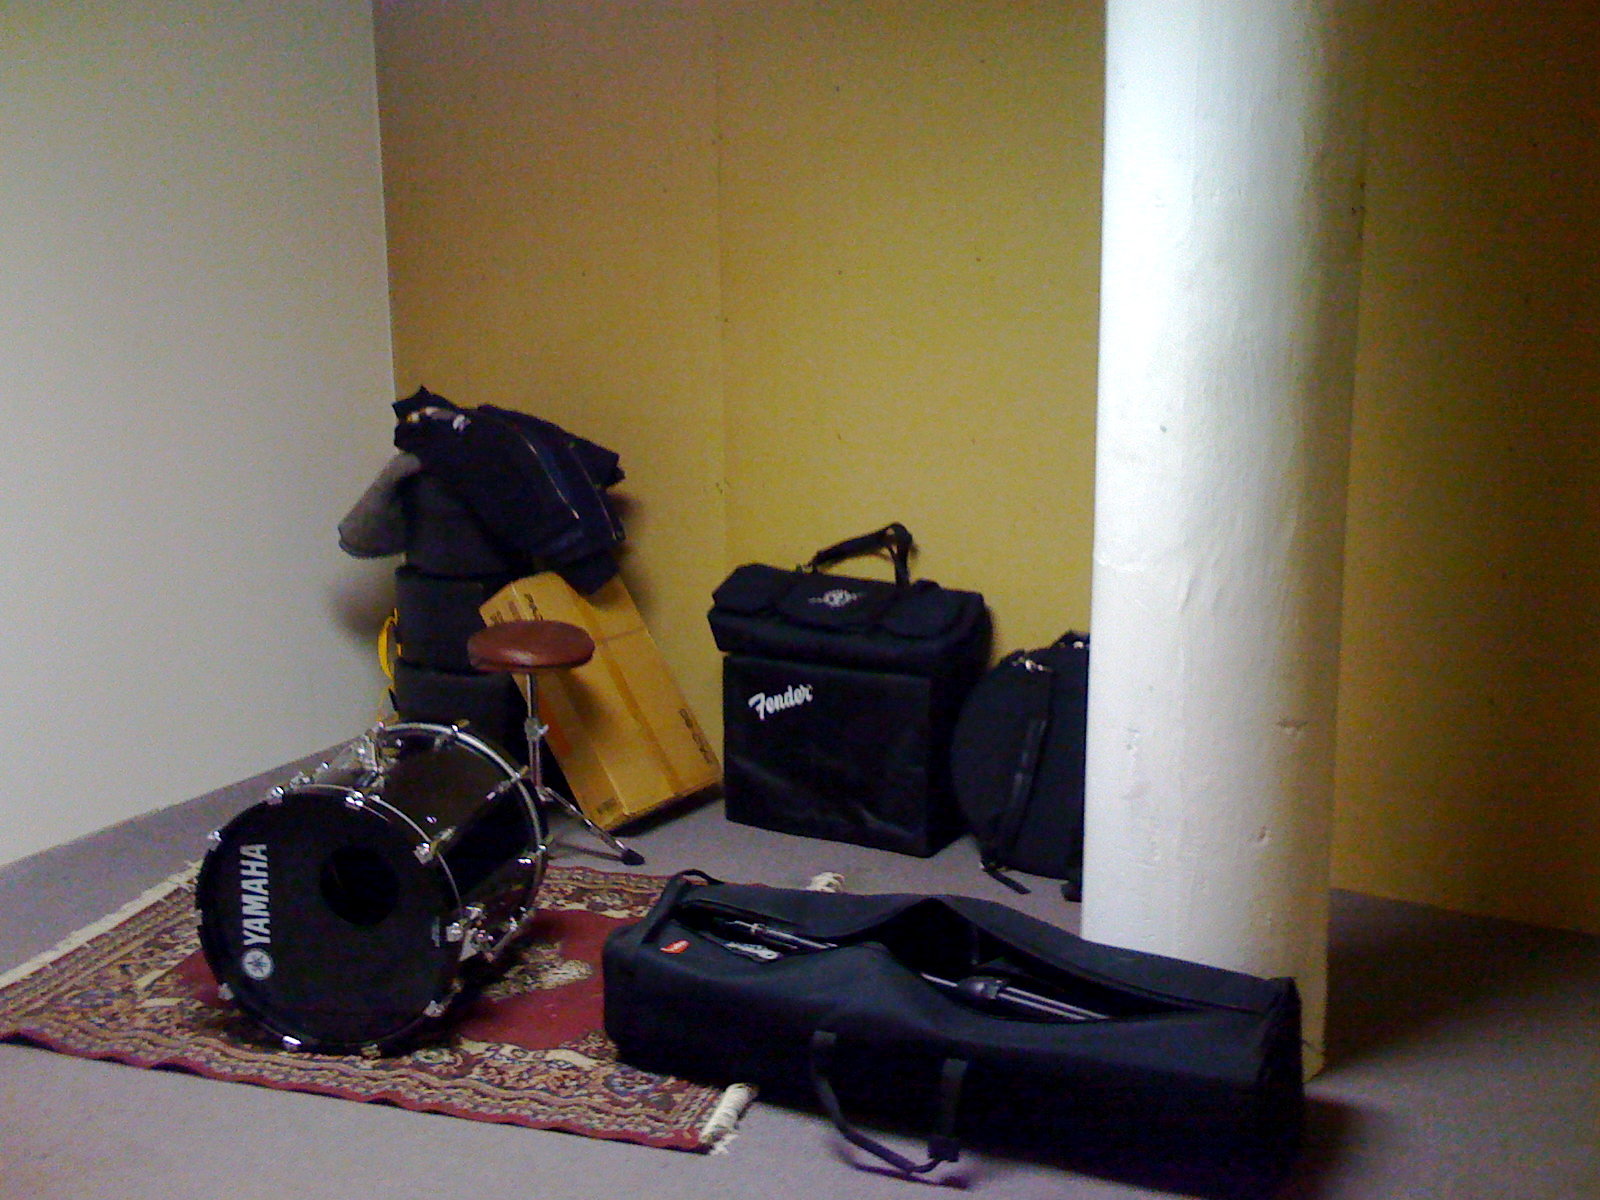
It only took two years, but I’ve finally found a place I can really dig into my drum kit.  It’s about time.  I’ve been moving one or more sets with me for the last 5 years, and in that time I’ve never developed a real practice regimen.  Hopefully I’ll be able to visit a few times a week and step it up a level.


Rehearsal Space

Rehearsal Space


Links:

Charlestown Rehearsal Studios

Stick Control for the Snare Drummer

SM57 Tape-Op Mod - Plans

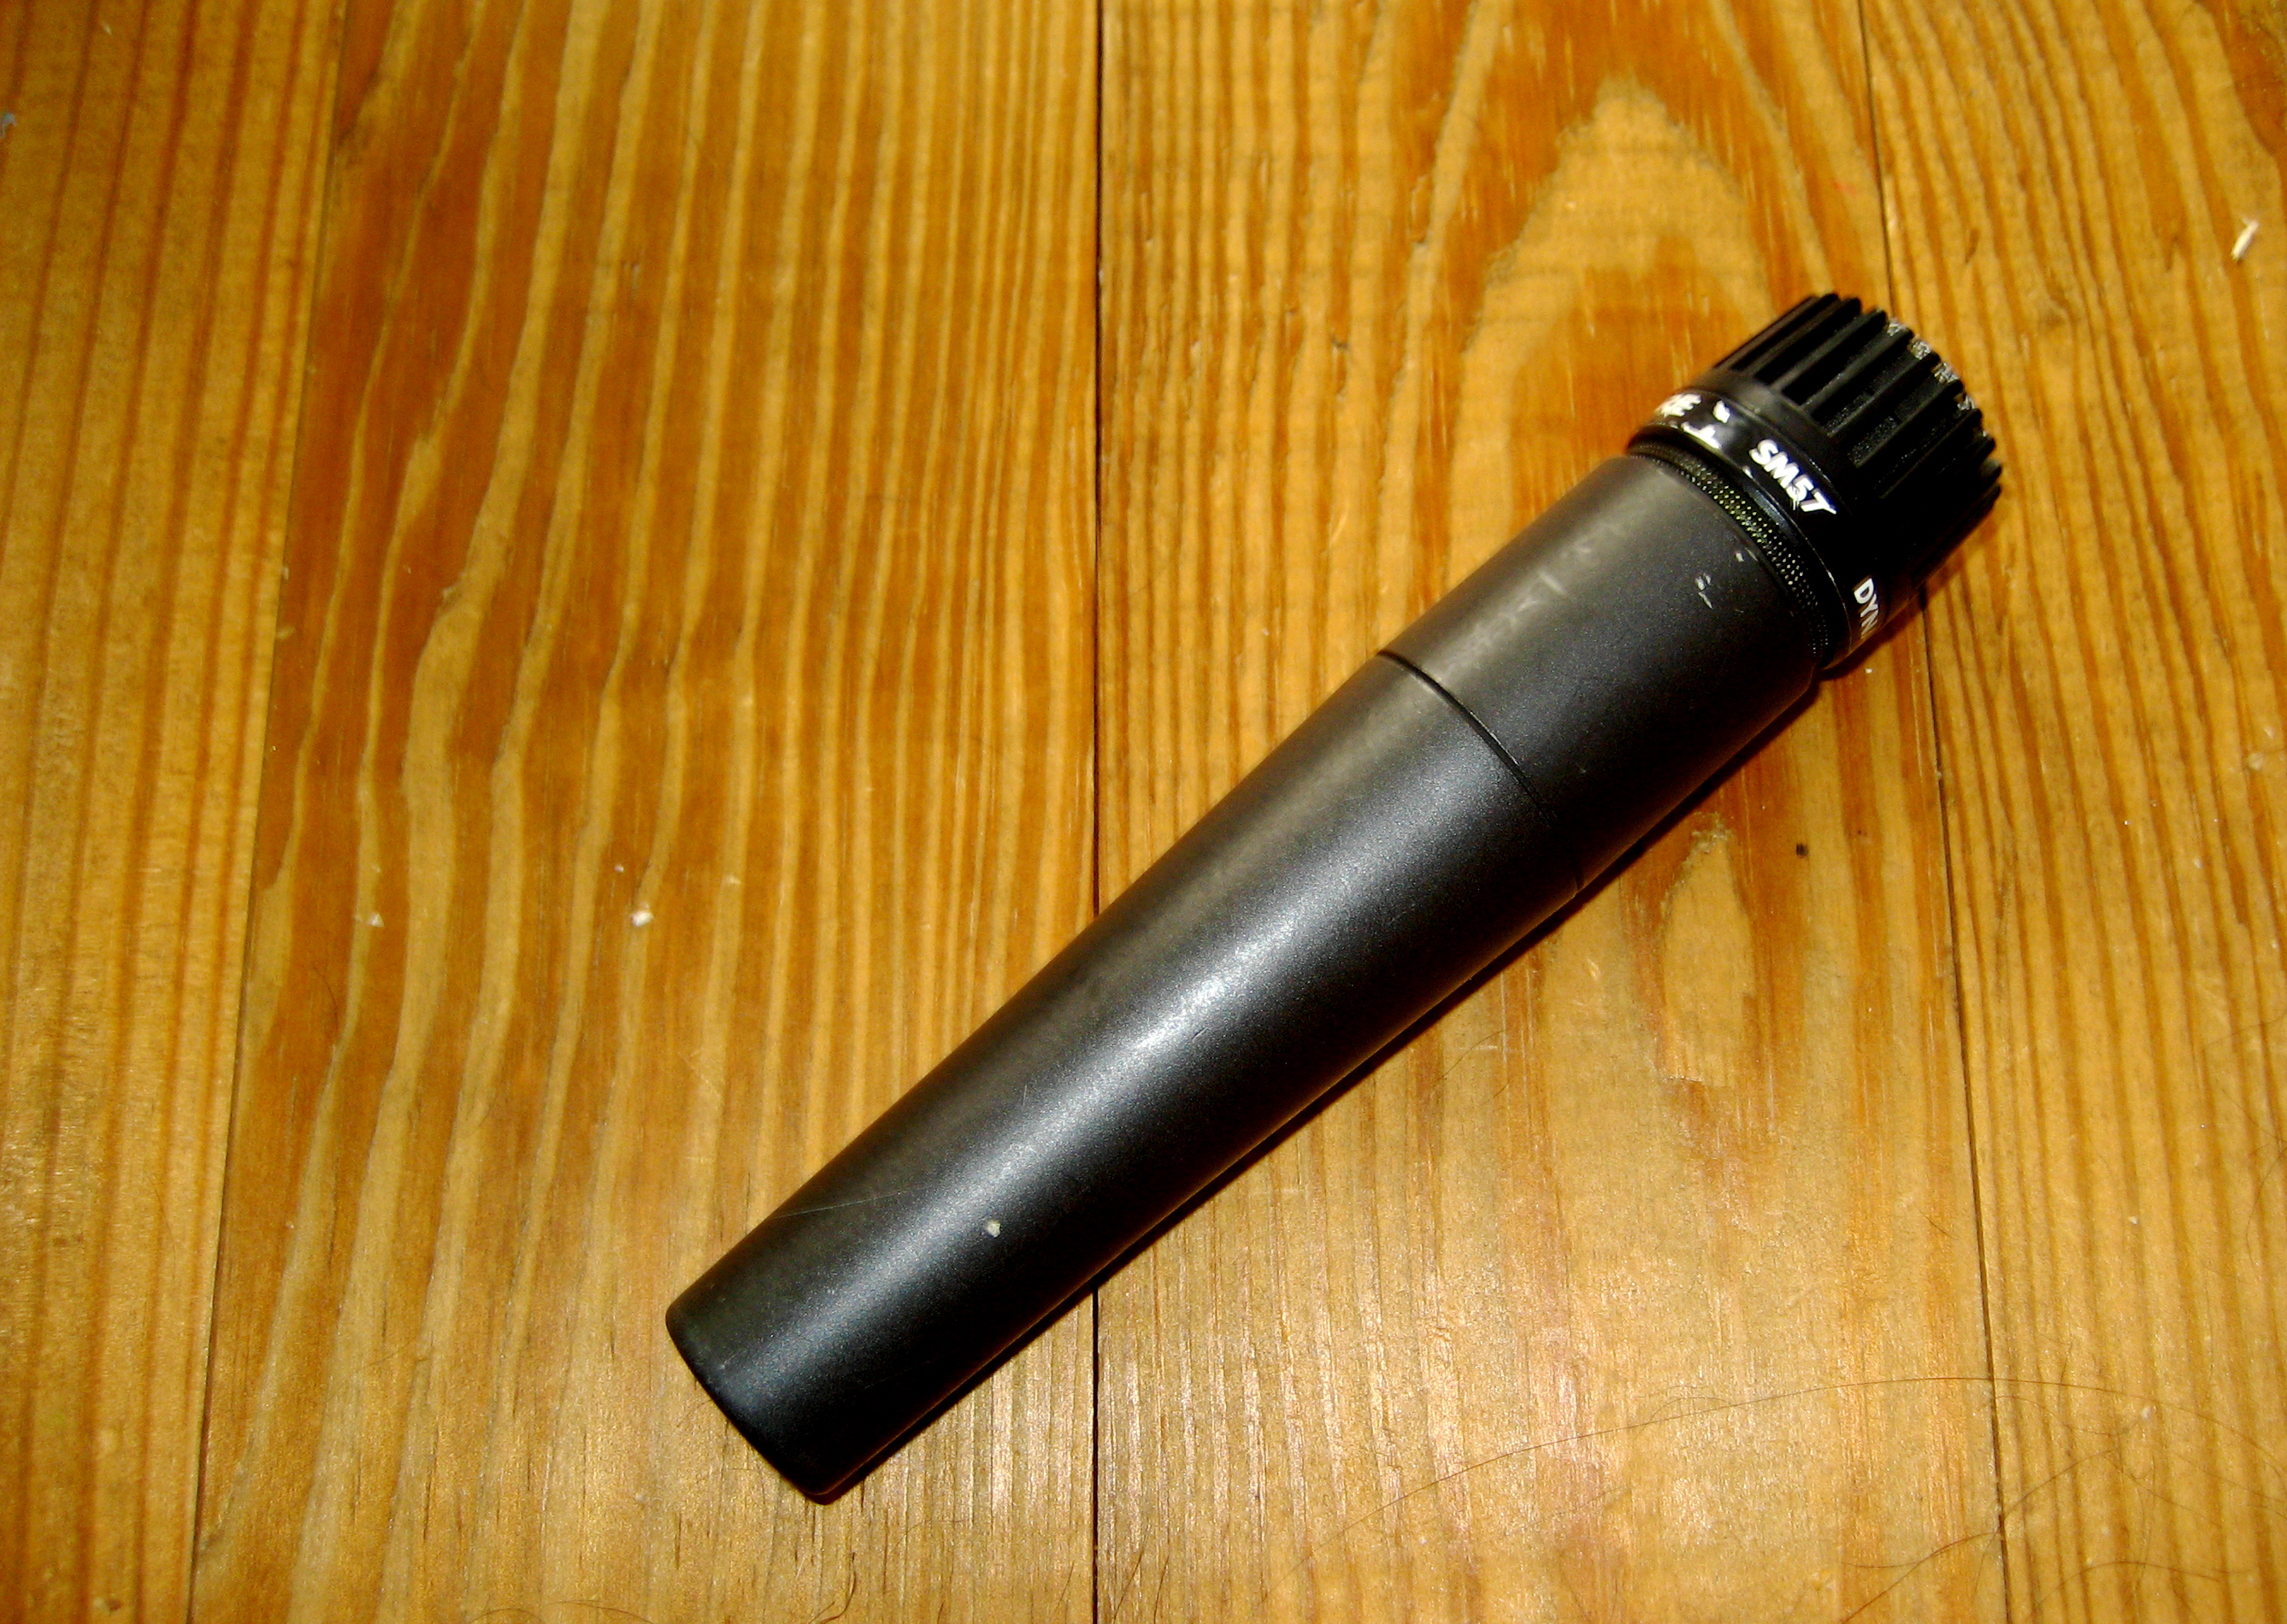
Back in the March/April 2006 edition of Tape Op, I saw an article about modding an SM57.  The premise is that the transformer adds a lot of unpleasantness to the sound.  The solution?  Remove the transformer!

Of course, the transformer is in there for a reason.  The two biggest reasons are to balance the output, and provide better voltage/impedance matching.  Removing the transformer will then unbalance the output (which could cause noise issues if you’re dealing with a significant cable run), and knock down the voltage output (by 10-20dB, reportedly).

With a small stack of 57s, it seems worth a try.  I’ll report back on my progress.


SM57 - Pre-Mod

SM57 - Pre-Mod


Links:

Tape Op - Best recording magazine available.

Gearslutz Forum #1 - Discussion of the mod outcome, plus pics.

Gearslutz Forum #2 - More discussion.