#manuallowpass
#manuallowpass
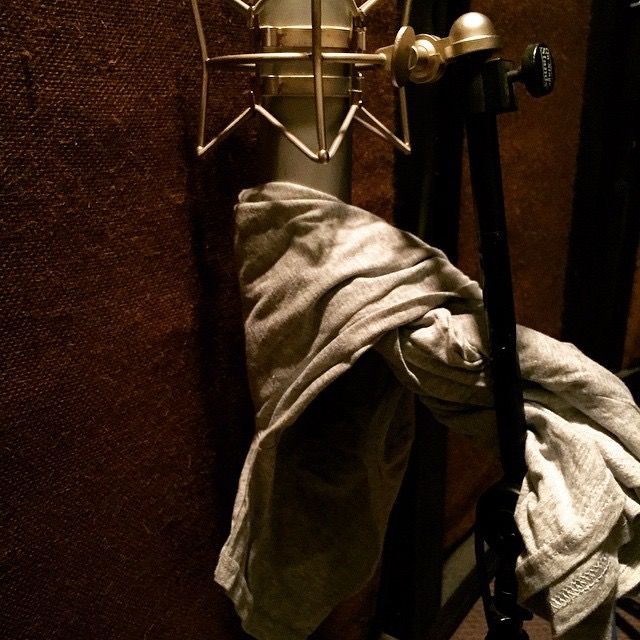
Recording with @sleepstudiesbnd.

This is a really cool Max4Live instrument that tries to warp the timing of multiple tracks to more closely resemble human interactions:
Two or more tracks can be “group humanized” so that their timing resembles musicians playing in the same room together. For example, a bass and a drum sequence will adapt to each others delays in a “humanized” way.
I was excited to give it a try in the Sleep Studies set, but it doesn’t work for rendered audio tracks yet. Since it just shifts the timing of the start points of audio, it’s fine for short samples, but a song-length audio file won’t benefit from this (as of version 1.3). I’m keeping my eye on this tool to see if we might be able to use it someday.

The guys at Goodhertz put together a good post with quite a bit of detail about the various types of panning available. We had a brief exchange on twitter about level-based panning:
How Panpot works in four graphs — https://t.co/JLUdwGwmWK pic.twitter.com/kVgqalFo08
— Goodhertz (@goodhertz) March 19, 2015@goodhertz @devink actually been thinking about level panning for a while. Some consoles use 4.5 dB attenuation at detent, right?
— Jeff Vautin (@jeffvautin) March 20, 2015@jeffvautin @devink yeah, SSL most famously
— Goodhertz (@goodhertz) March 20, 2015@jeffvautin @devink we included -2.5, -3, -4.5, -6 & stereo balancer pan laws
— Goodhertz (@goodhertz) March 20, 2015I had read about the SSL -4.5dB pan curve a while back. Supposedly this came about because in good1 rooms, the rooms in which SSL consoles were installed, the audio from both channels tended to be more correlated at the listening position than in other rooms. If the audio arriving at your ears is perfectly correlated, it should sum in amplitude, and you would actually want the center position of the pan to be -6dB from the edges of the curve. -3dB only makes sense if the arriving sound is perfectly uncorrelated, or random.
In reality, you probably want something that was frequency dependent. Since low frequencies tend to arrive at your ears in a correlated fashion, while the high frequency content probably arrives fairly randomly, you would want a gradual transition from -6dB to -3dB. My guess is that the SSL boards choose -4.5dB as a compromise.
But how do you generate these curves? The -3dB curve is fairly straightforward. If you normalize your pan values to cover the range 0-1 (where 0 is all the way left, and 1 is all the way right), you can just use:
\[ \begin{align} {gain}_{left} & = \left( \cos { \frac{\pi}{2} \color{red}{pan}} \right) \\ {gain}_{right} & = \left( \sin { \frac{\pi}{2} \color{red}{pan}} \right) \end{align} \]
To get to -6dB, you actually need to square the curves for -3dB:
\[ \begin{align} {gain}_{left} & = \left( \cos { \frac{\pi}{2} \color{red}{pan}} \right)^{2} \\ {gain}_{right} & = \left( \sin { \frac{\pi}{2} \color{red}{pan}} \right)^{2} \end{align} \]
So how do you generalize this? You can use:
\[ \begin{align} {gain}_{left} & = \left( \cos { \frac{\pi}{2} \color{red}{pan}} \right)^{\frac{\color{red}{dB}}{3.01}} \\ {gain}_{right} & = \left( \sin { \frac{\pi}{2} \color{red}{pan}} \right)^{\frac{\color{red}{dB}}{3.01}} \end{align} \]
Where dB is any amount of attenuation at detent (for instance, the SSL -4.5dB value). This figure shows the resulting tapers (normalized for a pan of 0.5):

So what should you use? Probably -3dB, since that’s the most common value. Better still, try to avoid panning constant sounds around too much, to avoid detecting changes in level as the sound moves. It’s nearly impossible to make the levels seem constant in the studio, in homes, and on headphones. If your sources are static in position, the pan taper you use doesn’t matter at all!
It might sound better in the studio, but the consumer never hears it in the studio. They’ll hear it at home, in the car, and on headphones. What happens in the studio is almost irrelevant! ↩
A few months ago I wrote about Daniel Mintseris’ Lynda.com course on Ableton Live. I’ve finally had a chance to implement most of his advice, but I had one significant issue to overcome before I could fully port our set from Arrangement View to Session View.
In Arrangement View, we had the entire set laid out start to finish. In Session View, with each song setup as one scene, I needed a way to automatically fire the subsequent scene. I may not do this forever, but this would allow me to complete the migration without disrupting our current show strategy.
Firing a scene automatically seemed like a perfect job for Max4Live. In fact, Daniel pointed me toward Isotonik Studio’s Follow device to accomplish this, but I couldn’t get my head around it and found the documentation lacking. This seemed like a good opportunity to explore the M4L API, too.
@jeffvautin Jeff, @IsotonikStudios has a #max4live device called Follow, which allows Follow Actions for Scenes. give it a try.
— Daniel Mintseris (@mindlessinertia) September 4, 2014This is what I ended up building. It may not be pretty (yet), but it’s getting the job done, and I thought I’d share how it works:

The high level process is:
As always, the devil is in the details:
notein.stripnote removes the note-off messages, so only the note-on messages are sent to button.goto live_set view selected_scene message to a live.path object, which then generates the ID of the currently selected scene at its left output.live.object receives the ID of the selected scene, and then immediately receives a getpath message. This message produces the canonical path of the currently selected scene.unpack object isolates this number.goto live_set scenes $1 message, which is then passed to a second live.path object to get the unique ID of the next scene.set selected_scene $1 $2 message. This is sent to another live.object that represents the Live View.As it currently stands, any MIDI note-on will fire the action. I plan to extend the behavior to be able to jump to specific scenes, and I’ll use the note number as the scene number. I believe I’ll use note 0 to represent the ‘next scene’ action, so that’s what I’m using for this behavior in our current set.
For the first time in a very long time, I’ve crossed a major goal off my list. I finally shipped an iOS app, albeit a very simple app.
Snow Day is a single-purpose weather app; it tells you how likely you are to be able to drive to work tomorrow (or today, if it’s before 10 a.m.). It ties into the Forecast.io API to pull weather data, and uses the new(-ish) Background Fetch iOS feature to pole for forecast changes from the background.
The app is free with ads and the option for a $0.99 In-App-Purchase that will disable the ads and enable background notifications. It’s been in the store for one week and seen 27 downloads (not that great, but still interesting, considering I’ve done nothing to promote it). It’s earned a whopping $0.09 from ads so far, and no one has bought the IAP yet. I’ve already submitted an update that shows 5 background notifications for free, with a prompt to purchase the IAP to unlock unlimited background notifications; we’ll see if that changes anything.
I built this in a day, during one of the many blizzards that’s pummeled New England over the last month. It turned out to be an ideal exercise in launching an app, since I’ve been tinkering with Objective-C for years now, but I had never dealt with the App Store side of things. I’m so glad I did this.
Snow Day in the App Store
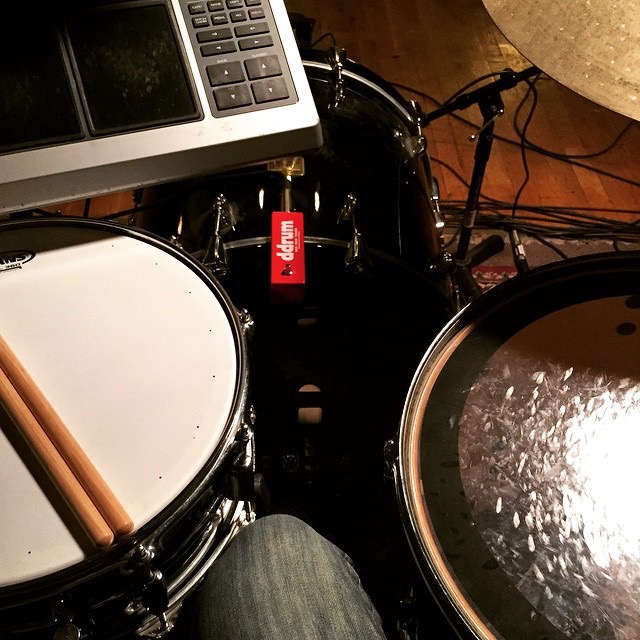
I always forget about the Glyn Johns (or Recorderman) drum mic technique. I’m making a note of this here so that hopefully, the next time I’m tracking drums, I’ll remember to give this a try.
The whole technique is predicated on using four mics:
The starting point is the LDC above the snare. This article at The Recording Revolution explains:
The method starts with taking your first overhead mic and placing it about 3 to 4 feet directly above the snare (or middle of the kit). It should be pointing down at the kit. Record a little bit and listen back to that one mic. You are listening for a complete balance of the kit. You want to hear a nice blend of snare, toms, and cymbals all in one mic. If you have don’t have enough of the hi and mid toms, then angle the overhead a bit towards the toms. If the cymbals are too abrasive, move the mic up a bit more. Rinse and repeat.
Then the second LDC goes to the right of the floor tom:
Take your second overhead mic and place it just to the right of your floor tom, maybe 6 inches above the rim and facing across the the tom towards the snare and hi hat.
This needs to be in phase with the first mic, so in general, you want it to be the same distance from the snare as the first mic is. What will this do to the kick drum phase, though? Something to pay attention to.
The last two mics are close mics, used as is typical. And I suppose you could add in close mics on the toms or anything else you wanted…
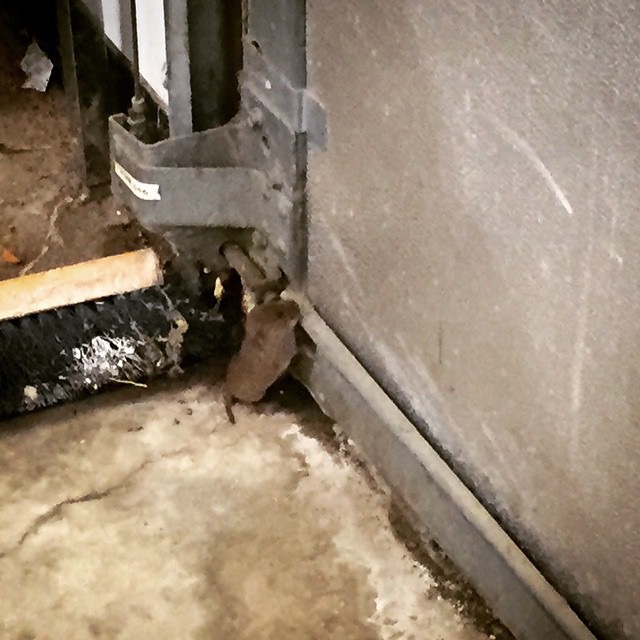
This little guy was helping out at work this afternoon.