Mazda Firmware Update

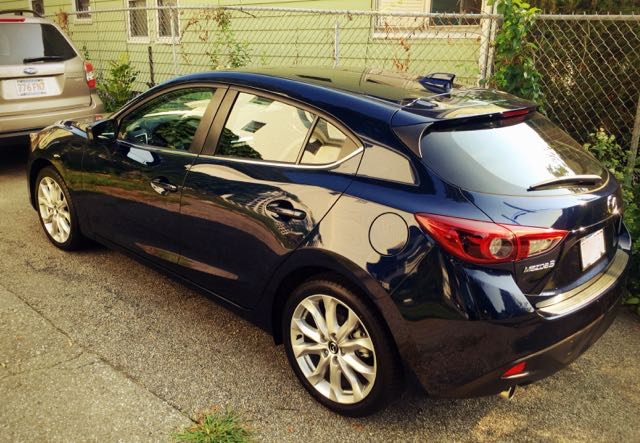
After driving my last car for twelve years, I finally made the decision to upgrade this past summer. I bought a well-reviewed and efficient Mazda3.

Mazda3 Hatchback

When I first picked up the car, I could not figure out how to get navigation prompts to show up in the Active Driving Display (the HUD). I knew they were supposed to show up - this video shows the display in use, and explicitly calls out ‘Turn-by-Turn Directions’.

I found a post in the Mazda3Revolution forum that confirmed this was a software bug in firmware version 55.00.750B:

FYI, just got off the phone with Mazda Customer Care and they are aware that version 55 removed the driving directions from the H.U.D. and are working on fixing it. Also, I asked if I had to pay for any future updates or are they under warranty. I was told they are covered under warranty.

A later post confirmed that version 55.00.753A, released on August 13, 2015, fixed the issue. There’s a post in the forum that someone is keeping up to date with links to the most firmware versions, and great instructions for doing the upgrade yourself12:

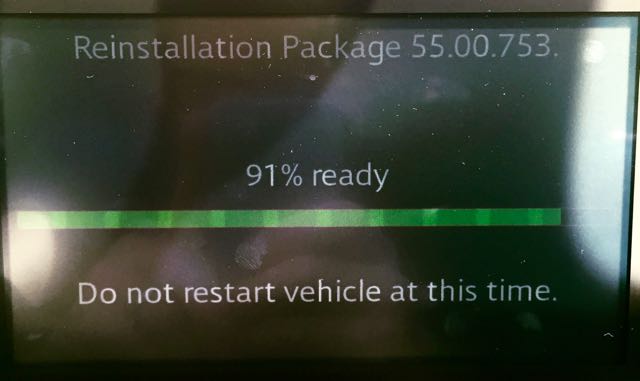
1) Format USB 2.0 Flash Drive as FAT32 2-16GB, CMU Does NOT support USB 3.0. 2) Copy the 2 update files (for one Version) over using a WINDOWS computer (only the failsafe.up and reinstall.up). 3) Remove the SD Card from the slot. 4) Set the car into ‘accessory mode’ amber light ONLY (ONE push of the push start button, DO NOT start the ignition). 5) Plug USB Flash Drive into the USB slot of the car. 6) Press the music, favourites, and mute buttons in your car all at the same time and hold for 2 to 5sec. ONLY USE ”TOUCH SCREEN” FOR NEXT UPDATE INPUTS - DO NOT USE DIAL KNOB. 7) Input code 3 to test for DTC’s, enter, then clear, IF there’s any DTCs listed, Input code 2, enter, then clear to remove all DTC’s. 8) Input code 99, enter, to start the system update process. 9) Select SEARCH for the System Update Packages. 10) Click on ‘Return Icon’ on Commander switch ONLY if you do not see the list of ‘Available Software Update Packages’ screen. 11) Select and INSTALL, install the failsafe.up, PRESS “OK” once package is installed successfully. 12) Press and release clutch pedal (MT) or brake pedal (Auto) BEFORE 25 mins on/off limit to reset the ACC timer to keep Amber on. 13) Press the music, favourites, and mute buttons in your car all at the same time and hold for 2 to 5sec. ONLY USE ”TOUCH SCREEN” FOR NEXT UPDATE INPUTS - DO NOT USE DIAL KNOB. 14) Enter code 99, enter, to start the update process. 15) Select SEARCH for System Update Packages. 16) Select and INSTALL, Install the reinstall.up, may take some time, possible blank or hard to read screens are normal. 17) Reinstall process can take some time for Progress Bar to finalise from 98% to 100%. 18) Confirm any confirmation screens. 19) Turn Ignition OFF, wait, and then ACC ON (Amber) to confirm changes. 20) Turn Ignition OFF, wait, and remove USB Flash Drive. 21) Delete “Mazda” on any phones Bluetooth BEFORE any phone re-pair attempts. 22) Insert SD Card. 23) Reset Radio preferences, etc.

Based on all of the research I did, I felt confident attempting to do this myself. It worked well — I would just caution anyone else to follow the instructions exactly, and to be patient. Some of these steps require a fair amount of waiting. The entire process took about 30 minutes for me — much faster than scheduling some time with the dealer.

Reinstallation Package 55.00.753: 91% ready


  1. There are alternative instructions here and more details about the infotainment system here

  2. Reproduced here in case they go away at some point in the future. 

Inside Abbey Road

While I was in London this summer, I saw a massive advertisement for a new Google project, Inside Abbey Road. The sign was suspended above the construction around Old Street Station, and it caught my eye.

Sign above Old Street Station labeled "Google presents Inside Abbey Road"

If you’re interested in recording, it’s worth following the link. I think it’s best described as an annotated version of Google Streetview, inside one of the most famous studios in the world. Some of the details are familiar, but some aren’t. I hadn’t ever heard this anecdote about the Mrs. Mills Piano:

Built at the turn of the century, EMI picked up the piano in 1953 for a pretty reasonable £404 and immediately started to adjust it to their needs. The hammers were lacquered to create a brighter sound, and it was always kept slightly, though deliberately, out of tune. It soon became known as the ‘Mrs Mills Piano’ after the unlikely superstar Gladys Mills used it create jaunty instrumentals in the pre-rock and roll era.

But it wasn’t just Gladys who got to tickle these particular ivories. This Studio Two legend appears on many famous tracks, including some of The Beatles’ finest. It’s distinctive sound can be heard on Penny Lane, With A Little Help From My Friends, and Lady Madonna, as well as a multitude of others. And it continues to be used today. Proof that the studio is anything but ageist, providing equal opportunity for any piece of equipment, no matter how old it is!

Switching to OPVault from Agile Keychain

Dale Myers wrote a post about a potential insecurity in 1Password’s data format. The team at 1Password wrote a great response that discusses the design decisions that Dale was critical of.

The bottom line is that, in their older .agilekeychain data format, the metadata for your passwords — titles and URLs — is not encrypted. This data format was designed in the era of the iPhone 3G, when iOS devices had a lot less processing power, and this was viewed as a necessary trade-off for mobile devices.

1Password’s post points out that many vaults created since 2012 are using their newer .OPVault data format, which encrypts all of the metadata. Since I sync via Dropbox, my vault is still in the old .agilekeychain format.

Migrating to OPVault

The documentation for 1Password is great, and migrating to the .OPVault format is well explained. For the time being, I’m still keeping my vault synced via Dropbox, though I may eventually migrate to iCloud.

The process was:

  1. Backup your data.
  2. Quit 1Password.
  3. Change the default vault format with this command in the terminal: defaults write 2BUA8C4S2C.com.agilebits.onepassword-osx-helper useOPVaultFormatByDefault true1
  4. Disable the sync via Dropbox (which deletes the existing .agilekeychain data).
  5. Reenable sync via Dropbox (this will create data in the new .OPVault format).2
  6. Disable and reenable syncing on all other devices.

This last step was actually the most complicated. On iOS, I disabled sync (Settings -> Sync -> Sync Service -> Disable Sync), wiped out the local data cache (Settings -> Advanced -> Erase Data and Settings), and then turned sync back on. My data repopulated very quickly — I believe speed is one of the benefits of the new format. I’m not sure if the wiping step was necessary, but I was more comfortable syncing one-way than relying on a proper merge of the data.

On my laptop I used the same process. The process of wiping the local data is a lot more involved, and I couldn’t figure out a way to sync the local data with the Dropbox data otherwise.

The End of 1PasswordAnywhere

The benefit of this hassle is additional security. Now, all of the metadata in my vault is encrypted.

The downside is that the handy 1PasswordAnywhere tool does not work with the new .OPVault format — this looks like the end of the road for it. AgileBits describes 1PasswordAnywhere as:

1PasswordAnywhere is a local, web browser-based interface for your vault. It was built into our Agile Keychain format years ago, and hasn’t seen many updates in recent years. These days, it has been mostly replaced by platform-native versions of 1Password.

The benefit of this was that, armed with my Dropbox password and 1Password Master Password, you could view my login information without having the native application. This was a key enabler of the original 1Password Emergency Kit. The newer version 3 has dropped any references to 1PasswordAnywhere, in keeping up with the times.

Initially, the loss of this functionality seemed like a major step backwards. In reality, I doubt anyone with a copy of my emergency kit would have made use of 1PasswordAnywhere, anyway. My wife has a copy of 1Password on her laptop, so she would be able to access the data regardless. At this point, I’m taking the added security of .OPVault over the inconvenience of losing 1PasswordAnywhere.


  1. The command is slightly different if you’re using the direct purchase version of 1Password, so refer to their support documentation

  2. As a side benefit, I finally moved the 1Password folder into ~/Dropbox/Apps/, so it’s no longer cluttering up my root folder.