
Monthly Archives: November 2015

“We gotta play this song before I puke”

Mazda Firmware Update
After driving my last car for twelve years, I finally made the decision to upgrade this past summer. I bought a well-reviewed and efficient Mazda3.

When I first picked up the car, I could not figure out how to get navigation prompts to show up in the Active Driving Display (the HUD). I knew they were supposed to show up - this video shows the display in use, and explicitly calls out ‘Turn-by-Turn Directions’.
I found a post in the Mazda3Revolution forum that confirmed this was a software bug in firmware version 55.00.750B:
FYI, just got off the phone with Mazda Customer Care and they are aware that version 55 removed the driving directions from the H.U.D. and are working on fixing it. Also, I asked if I had to pay for any future updates or are they under warranty. I was told they are covered under warranty.
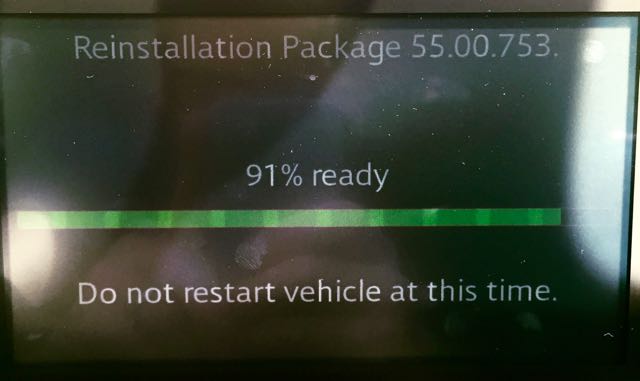
A later post confirmed that version 55.00.753A, released on August 13, 2015, fixed the issue. There’s a post in the forum that someone is keeping up to date with links to the most firmware versions, and great instructions for doing the upgrade yourself12:
1) Format USB 2.0 Flash Drive as FAT32 2-16GB, CMU Does NOT support USB 3.0. 2) Copy the 2 update files (for one Version) over using a WINDOWS computer (only the failsafe.up and reinstall.up). 3) Remove the SD Card from the slot. 4) Set the car into ‘accessory mode’ amber light ONLY (ONE push of the push start button, DO NOT start the ignition). 5) Plug USB Flash Drive into the USB slot of the car. 6) Press the music, favourites, and mute buttons in your car all at the same time and hold for 2 to 5sec. ONLY USE ”TOUCH SCREEN” FOR NEXT UPDATE INPUTS - DO NOT USE DIAL KNOB. 7) Input code 3 to test for DTC’s, enter, then clear, IF there’s any DTCs listed, Input code 2, enter, then clear to remove all DTC’s. 8) Input code 99, enter, to start the system update process. 9) Select SEARCH for the System Update Packages. 10) Click on ‘Return Icon’ on Commander switch ONLY if you do not see the list of ‘Available Software Update Packages’ screen. 11) Select and INSTALL, install the failsafe.up, PRESS “OK” once package is installed successfully. 12) Press and release clutch pedal (MT) or brake pedal (Auto) BEFORE 25 mins on/off limit to reset the ACC timer to keep Amber on. 13) Press the music, favourites, and mute buttons in your car all at the same time and hold for 2 to 5sec. ONLY USE ”TOUCH SCREEN” FOR NEXT UPDATE INPUTS - DO NOT USE DIAL KNOB. 14) Enter code 99, enter, to start the update process. 15) Select SEARCH for System Update Packages. 16) Select and INSTALL, Install the reinstall.up, may take some time, possible blank or hard to read screens are normal. 17) Reinstall process can take some time for Progress Bar to finalise from 98% to 100%. 18) Confirm any confirmation screens. 19) Turn Ignition OFF, wait, and then ACC ON (Amber) to confirm changes. 20) Turn Ignition OFF, wait, and remove USB Flash Drive. 21) Delete “Mazda” on any phones Bluetooth BEFORE any phone re-pair attempts. 22) Insert SD Card. 23) Reset Radio preferences, etc.
Based on all of the research I did, I felt confident attempting to do this myself. It worked well — I would just caution anyone else to follow the instructions exactly, and to be patient. Some of these steps require a fair amount of waiting. The entire process took about 30 minutes for me — much faster than scheduling some time with the dealer.
-
There are alternative instructions here and more details about the infotainment system here. ↩
-
Reproduced here in case they go away at some point in the future. ↩


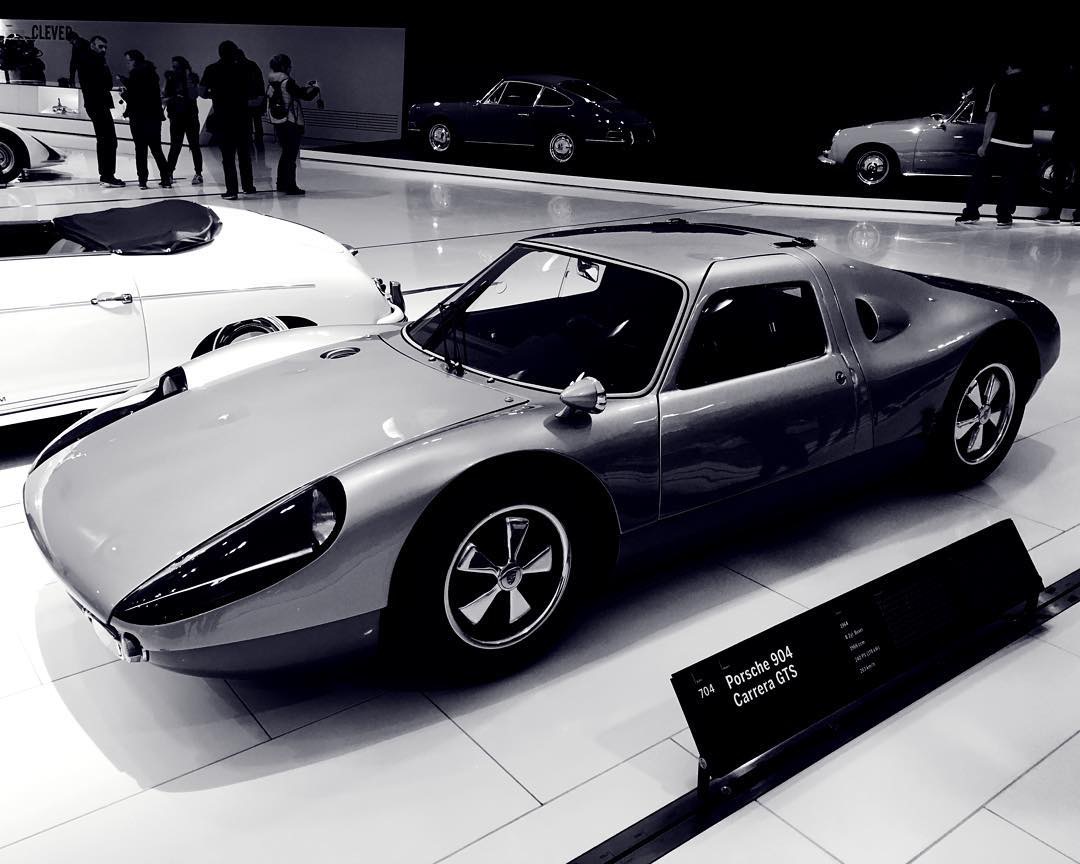
Type 904. Also, I just learned Ferdinand Porsche designed the Beetle??
300 SL

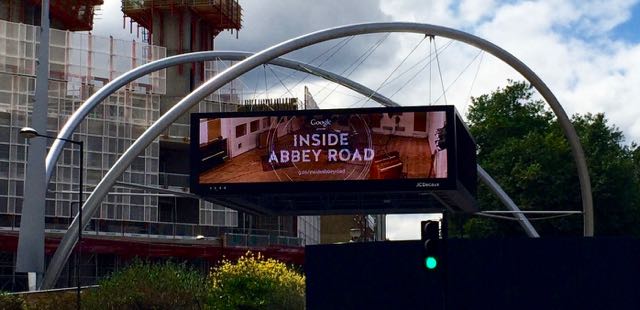
Inside Abbey Road
While I was in London this summer, I saw a massive advertisement for a new Google project, Inside Abbey Road. The sign was suspended above the construction around Old Street Station, and it caught my eye.
If you’re interested in recording, it’s worth following the link. I think it’s best described as an annotated version of Google Streetview, inside one of the most famous studios in the world. Some of the details are familiar, but some aren’t. I hadn’t ever heard this anecdote about the Mrs. Mills Piano:
Built at the turn of the century, EMI picked up the piano in 1953 for a pretty reasonable £404 and immediately started to adjust it to their needs. The hammers were lacquered to create a brighter sound, and it was always kept slightly, though deliberately, out of tune. It soon became known as the ‘Mrs Mills Piano’ after the unlikely superstar Gladys Mills used it create jaunty instrumentals in the pre-rock and roll era.
But it wasn’t just Gladys who got to tickle these particular ivories. This Studio Two legend appears on many famous tracks, including some of The Beatles’ finest. It’s distinctive sound can be heard on Penny Lane, With A Little Help From My Friends, and Lady Madonna, as well as a multitude of others. And it continues to be used today. Proof that the studio is anything but ageist, providing equal opportunity for any piece of equipment, no matter how old it is!
Castle view from the hotel. 🇩🇪